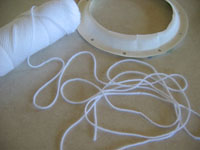
Supplies to get started:
| 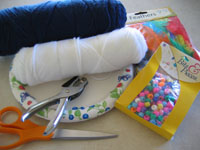 |
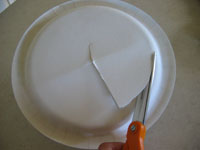
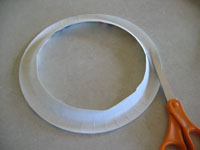
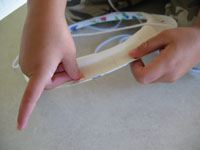
1. Begin by cutting in the center of the paper plate. Leave a rim of 2 inches all around the paper plate
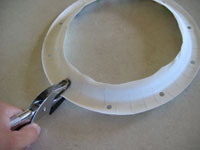
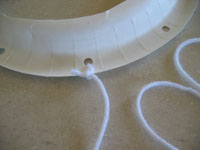
2. Take your hole punch and punch hole in the rim of the paper plate, about ½ inch apart each.
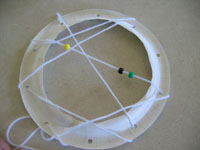
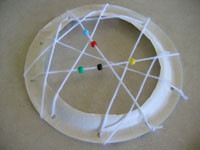
3. Measure out your yarn 5-6 ft long. Tie one end of the yarn to any one of the holes on the rim of the paper plate.
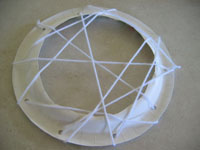
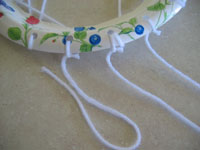
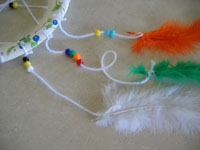
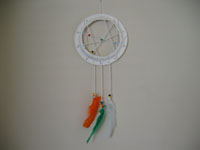
| 4. Weave the yarn up, over, and all around the paper plate from one hole to the next one. You can make your pattern any way you like. Make sure to loop through each of the punched holes. 5. You can add the craft beads to the middle of the dream catcher with the yarn as you go through the holes. Simply slip them onto the yarn and continue with the next hole. They will appear to be in the middle of the dream catcher. 6. Once all of the holes are threaded with the yarn, tie a knot at the end of the yarn with the plate and the last hole. 7. Now, take your hole punch and punch 3 more holes in the paper plate at the bottom of the plate. 8. Cut 3 more pieces of yarn, about 5 inches long each. 9. Take each piece of yarn and tie them to the 3 punched holes at the bottom of the dream catcher. 10. Choose some beads to thread onto each of the 3 yarn pieces and then tie one feather to the end each of the hanging yarn pieces. 11. Take your markers and decorate the edges of the paper plate. 12. Lastly, make a piece of yarn the length you need to hang it on the wall. Punch one more hole to the top of your paper plate dream catcher and tie the yarn to it. 13. Hang your new Dream Catcher in a place where sweet dreams are welcome.
|


No comments:
Post a Comment